Pages

Showing posts with label Cricut. Show all posts

Tuesday, February 25, 2014

Birthday Card

I made a birthday card :)


The "Happy Birthday!" stamp is from Brown Pigeon, but it doesn't seem to be available online anymore.  I bought it at the SF Bizarre in December.

The "postage stamp" card was made using the Sentimentals cartridge in CCR.

Thank you for looking. 

Saturday, January 5, 2013

Playing with Cricut Craft Room Freebies

I've mentioned before that Cricut has weekly freebies in their Craft Room program and this week they had Don Juan for free!  The past month or two they have had free cuts that I wouldn't really use so I was excited that this was a whole cartridge for free (until January 9)!  This cartridge only comes free with the Cricut Create machine and on eBay the cartridge goes for lots of money because it is rare.

After checking out what the cartridge had to offer, I realized I didn't need it :D (my resolution thanked me!)


Instead of boxing up Christmas today, I played with my Cricut and made some cuts using the free program.
  

Various Colors of "Thanks" to be used on cards.  (they are 5.5" wide by 1.75")

 
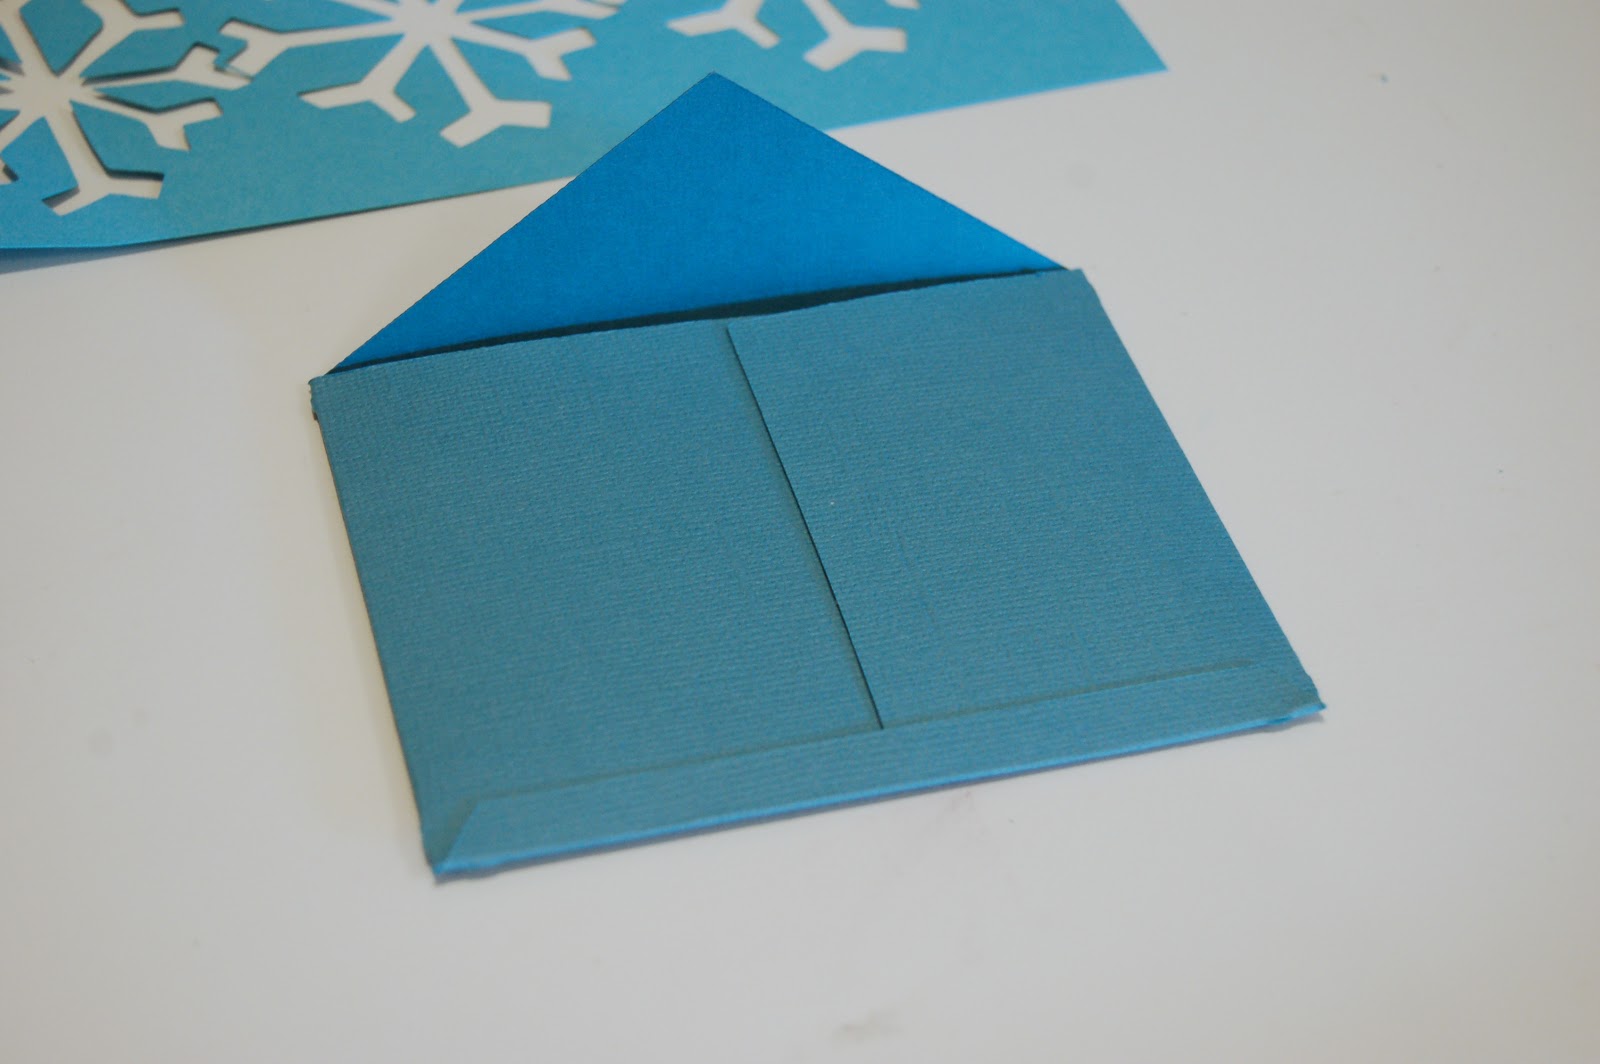
They had an envelop and even though my Cricut isn't big enough, I tried it out.  It is cute, but would only hold a 3.25" x 4.5" card (if that).  Still cute.


Some basic 2.5" snowflakes :) (and I saved the negative--maybe to use for a card background)


Some 4" high whimsical trees.

This one, I should have saved the file to share, but since I don't own Don Juan I didn't see a reason to save the file, now I do :/

I will try my best to explain.  First with the Cricut Craft Room Basic, I used the rounded square (Basic tab/Shift/last row/first cut) and unlocked the ratio aspect to make it 3x4.  I added another of the same cut, but this time made it 2.75x3.75 and centered and welded it.  Now you get a basic rounded rectangle frame.  This can be saved for future use!  

The "OH Happy Day" is a phrase on the Don Juan cartridge and I just added and stretched it to weld to the top, bottom, and sides (the ratio aspect has to be unlocked).   The O actually has a smiley face in it but I didn't want that so I just used an "O" from the font and welded that on top of the O from the phrase.  

I plan to use the basic rounded rectangle frame to make my own cute phrase like Ali Edwards makes.

(photo from aliedwards.com)

And just to be clear--I don't work or get paid from Cricut ha ha ha.  I just am starting to love this machine again--although I need to start using the cuts instead of just storing them!!!


Wednesday, December 5, 2012

Gift Card Holder via Pinterest

Every year, I give out gift cards for Christmas.  Not because it is easy (I mean fighting the mall traffic and standing in those crowded lines isn't easy!), but because it allows the recipient to choose a gift they truly like/want and not have to either return the gift or give it to goodwill.

Normally I just wrap the gift card by placing it in a cute box or bag.  This year, I thought I could make some cards!  So off to Pinterest I went and found lots of ideas.


This idea came from Inking Idaho.


I used white card stock as the base.  Then I dug into my Christmas paper stash and everything else I used are papers/stickers from the Holiday Slab by Rob & Bob Studio (back from 2006!!!).  I rounded all the edges because I am currently into that look.


Here is a peek inside--this is not the gift card that will be accompanying this card--just the only one I had on hand.

Dimensions of the card:

White Card Base- 6.5 x 5
Striped paper-6 x 4.5
Green solid-5.5 x 4
Burgundy/Pink-4.75 x 3.75 (made from the Cricut Elegant Edges Cartridge) Here is the link
Plaid paper-5.75 x 3.75 (made from the Cricut Elegant Edges Cartridge)  This time I only put paper in 1/2 the size of the cut so that the paper fit--you can always just trace and cut the plaid paper without the Cricut machine though. 

One down...(I haven't even started shopping yet--shhhh!)

Tuesday, September 25, 2012

Project Life~Week 5


Wednesday~Toy shopping for my niece's birthday!
Thursday~Chuck E. Cheese for my niece's 4th birthday!
Friday~Watching the Space Shuttle Endeavor fly above us at work
Saturday~First day of Fall--my Seasonal pumpkin finds
Sunday~Using my Cricut Craft Room to make mustaches
Monday~Spirit Week~Pajama Day!
Tuesday~Deleting my Social Network {very liberating}  
(The girl didn't dress up for Twin Day during Spirit Week)

Sunday, September 23, 2012

My Cricut and "Craft Room"

The day after Thanksgiving in 2008, I woke up early for the first time ever and we went Black Friday Shopping.  The main purpose was to get some tv related plug-thingy (I still have no idea what it is and does, but it was a really good price for what it did).  Since we were in the neighborhood (even though it was about an hour after the doors had opened), I stopped into Joann's Fabrics to see if they still had any of the original Cricuts that were on sale.  I scored!

I have used it a few times and even though you were not supposed to, in 2009, I bought SCAL which allowed you to use fonts (and other type of files) on your computer to cut images.  I used that feature a few times, but when I upgrade my computer last year, SCAL was not only illegal to use with the Cricut, my original purchase would not work on my Mac.  

After I figured out I couldn't use SCAL, I looked into how to use my Cricut on the computer and found that Cricut has a program called Craft Room that is free!  (I love free!)  It allows you to see the image on your computer before cutting it...you can resize and weld the letters together.  Even though you can see all the cartridges Cricut has to offer and play around with them all, you can only cut images from the cartridges you own.

Forward to now--In July, Cricut started offering free image usage for a week at a time.  I didn't figure this out until late August, but I have been able to take advantage of some of these freebies.

This week, they had Mustaches and Glasses for free.
  

[as you can see, the "Cricut Craft Room Basics" is always free--there are hearts, butterflies, basic letter shapes, as well as a "plant" that looks like a cupcake, and much more!  Currently through Election Day, they also created Obama and Romney files--that cut in the shape of their faces.]

This was pretty awesome because even though I don't "get" the mustache craze, I am planning to put together a photo booth in June for my daughter's graduation party.  

The first go round, I cut them out of black paper--It wasn't bad, but it was a bit flimsy for my needs.  


Then I found some old felt I had lying around.  But that was way too flimsy.  See how you can't see the curled detail!  


This morning, I wandered over to Michaels and paid 99 cents for some very sturdy 9 x 12 felt.  It was perfect!  (I used a Deep Cut Blade on 6, Speed at 2, Pressure at 5, and multi-cut at 2--I found multiple help online using the same criteria.)


Now I have to figure out how to attach it to a stick :)

You could also cut glasses, but they were too thin and you couldn't "bold" them to be a bit sturdier, so I chucked that idea--I am sure I can find "real" cheapy glasses somewhere else.


See that blob of a mustache at the bottom?  It should look like this:


See the major difference?!

Here are all the cuts I made trying out the Mustache and Glasses files for free!


I do have to say though, even if I need to go back, the digital Cricut file is normally only $1.99 for 6 mustaches (plus 6 "shadow" mustaches--which I used) and 3 different glasses.  Not bad if I really need more mustaches.

{they do not only let you try out the cheapy files either!  In August, they had a popular Life's a Party file available that is normally $29.99!  Now if they would only let us try Life's a Beach for my beach themed graduation party I am planning--ha ha ha}